Configuring your controller in Mupen64Plus-FZ
Introduction
Our N64 to USB adapter works very well with this emulator. And so does our Gamecube/N64 to USB adapter.
In most cases, the controller profiles built into the emulator will just work. But it appears that on some devices they don't. If you are in this situation, you must configure the buttons manually. This is a short page to explain how to do this.
Update! Since the February 11 update, Mupen64Plus FZ supports
the raw controller access using raphnet adapters. Use N64 Rumble packs and Memory Paks as if on
a real N64!
Enabling this feature is easy. See below.
Enabling this feature is easy. See below.
Under Settings -> Input, check the Use Raphnet adapter arw USB access option:
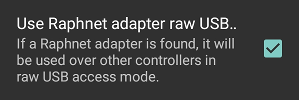
When the above option is enabled, you do not need to worry about profiles, stick calibration and so on. Everything just works like on a real system. (Except some occasional slowdowns when accessing memory cards). This is currently a limitation of the >raphnetraw plugin used by the emulator.
If you have a Gamecube controller or a non-raphnet adapter, the rest of this guide still applies. Otherwise, that's it!
Creating a profile
Open the menu and select Controller from the Profiles section: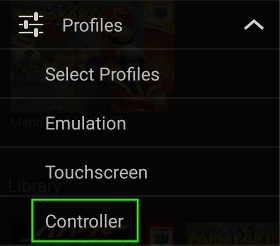
On the controller screen, push the Hide built-ins button (you know they don't work for you). Then click on the + button to start creating a new profile:
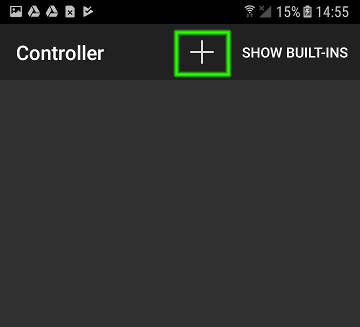
You will have to assign a name to the profile. For instance, you could name it 'My raphnet adapter'.
Now a view such as this one will come up. Notice how faded the buttons appear. This is because they are not configured yet:
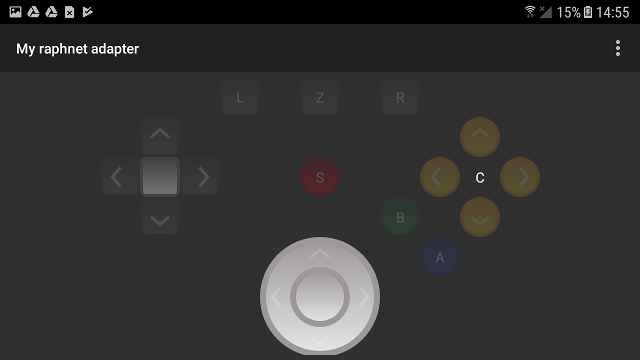
Let's configure the Start button. To do this, touch the red button with an S in the center of the screen to bring up this dialog:
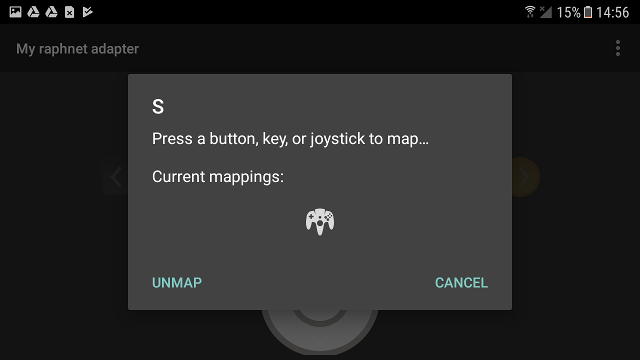
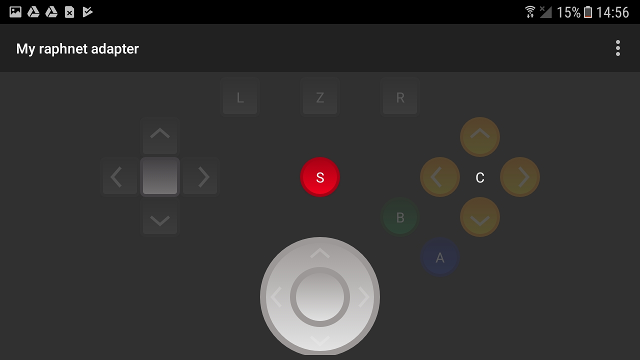
Now all you have to do is press Start on your controller. The dialog will close, and the start button will now be shown vivid red, indicating that this button is configured:
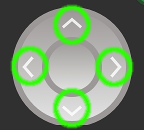
You probably already understand that you must repeat this for all other buttons. Note the joystick is configured on direction at a time (you must click on each of the 4 arrows, then tilt the joystick in the corresponding direction):
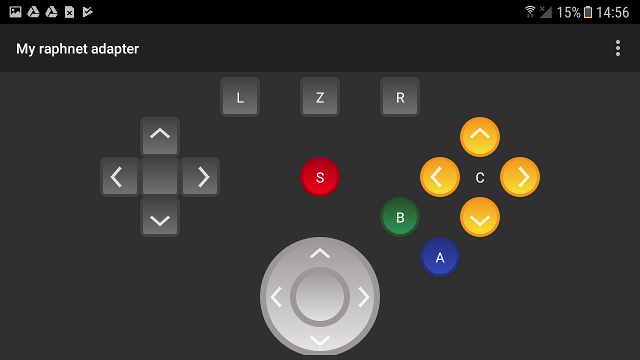
A fully configured controller will look like this:
Now the profile is created an ready to be selected for use. Hit the return button on your device to go back to the menu.
Selecting a profile
Simply creating a controller profile is not enough. You must also select it and assign it to a virtual N64 controller port. From the menu, open Select Profiles from the Profiles section: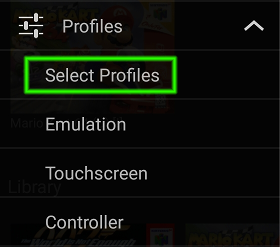
The Select Profiles menu comes up. We can see in the screenshot below that Controller 1 is assigned the Android Gamepad profile. This is not what we want, we need to change it to the profile we just created (My raphnet adapter).
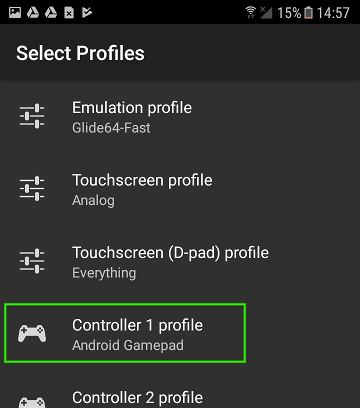
Push on Controller 1 profile to open the profile selection dialog. Then select 'My raphnet adapter'.
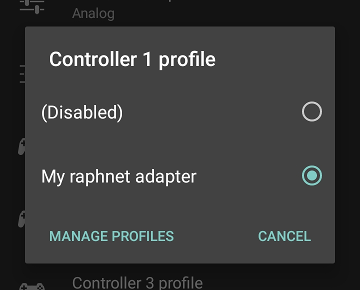
That's it, you're good to go. Well almost (see below).
Pitfall: Per game settings
The profile selection described above is a global setting which normally applies to all games. But be careful: It is possible to override the global setting for specific games. If it's not working, you should also make sure that the game is configured to use the global default. Here's how:- Select a game from the library
- Click on the Settings icon
- Scroll down to and open the Controller menu
- Confirm that it says 'Global Default' below 'Controller 1 profile' (likewise for other controllers, as applies to your setup)