Introduction
This page demonstrates how raphnet controller adapters can be used with RetroArch.
A few raphnet-tech adapters will be configured automatically by RetroArch's Joypad Auto Configuration system because we have contributed autoconfig files to the project for some of our products.
But if the adapter you have does not auto configure, don't worry, manual configuration is easy.
Navigating the menus using the keyboard
When you first install RetroArch, only the keyboard will work.Moving around the menus is accomplished using the arrow keys: ← ↑ → ↓ and triggering actions and entering a submenus is done using the Enter key.
To go back up a level (for instance, exiting a submenu) use the Backspace key. The Escape key, by default, causes RetroArch to exit immediately without confirmation.
To learn more, the official RetroArch getting started guide is the best place to start.
Configuring controller inputs
Navigate to the settings (gears icon) menu using the ←→ keys, then scroll down to the Input menu item using the ↓↑ keys.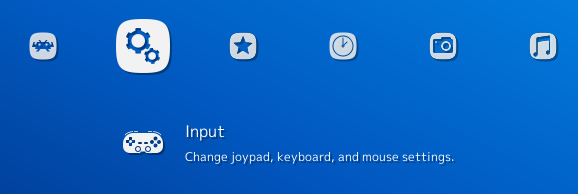
Press Enter to open the Input menu. Then scroll down to the Input User 1 Binds.

Press Enter again to open the Input User 1 Binds menu, and scroll down to the first button to configure: User 1 B button).
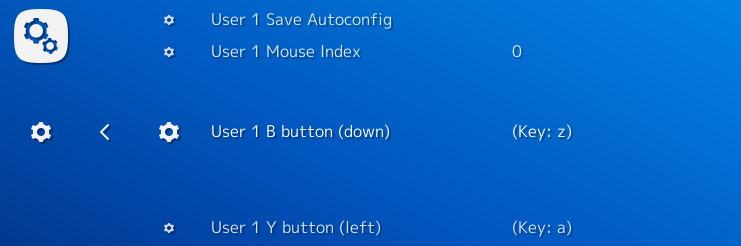
The above shows that the Z key is already configured for Button B. What you are about to do will add a second way to control the B button: One of your controller buttons.
When ready, press Enter on your keyboard. You will then have a few seconds to press the correct button on your controller.

After pressing the correct button, or timing out, the Input User 1 Binds menu reappears:
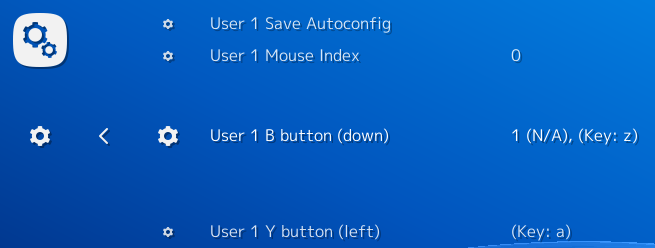
If you pushed a button on your controller, the text on the right of the button name (in this example: User 1 B button) will show a numeric button ID. The (N/A) part would hold the name of the button if it was known by RetroArch.
Tip: If you pushed the wrong buttons, you can press the Delete key to remove all bindings for a particular button.
Repeat button configuration for all buttons on your controller. Don't worry if your controller does not have all the buttons proposed in the RetroArch menu. Your probably would not play the games that would required these with the controller you are holding anyway.
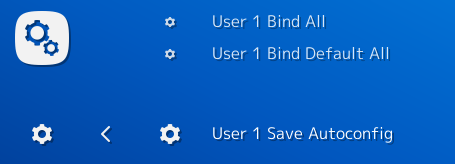
Once you are done configuring your controller, select the User 1 Save Autoconfig menu item to save the configuration and the next time you start RetroAarch, your controller will be already configured!
Optional: Binding spare buttons keys to special functions
Some game controllers have extra buttons that are not mapped by default. For example: The home button on Classic controllers, or the numeric keys on the NTT Data Keypad. You can configure those spare buttons to do useful things such as opening the RetroArch menu.Navigate to the settings menu using the ←→ keys, then scroll down to the Input menu item using the ↓↑ keys.
Press Enter to open the Input menu. Then scroll down to Input Hotkey Binds.

Press Enter to open the Input Hoykey Binds menu. Select what function you would like to assign to a spare button, then press Enter. As was the case for normal buttons (see previous section) you will have a few seconds to press the button you want to configure.
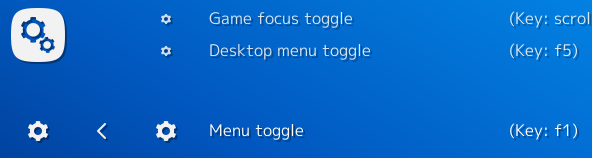
For instance, if you are using a Classic Controller, you may assign Menu toggle to the home button.